Changing text through the GitHub UI
In general, e-mission UI changes are made by creating a fork, installing the devapp, testing the changes in the emulator, and and if using the emTripLog base app, submitting a pull request to the branch for your project.
But sometimes, you want to make some quick changes without that overhead. The most common use case is probably a deployer who hired a programmer to make a custom UI. After the contract is over, she realizes that she needs to make minor changes to the text - e.g.
- to the consent, once the final IRB approval is in place,
- to prompts or other visual elements, based on feedback from a pilot
This document outlines how she can make the changes herself directly online. easy as editing a google doc!
Safe changes
I would not recommend this for anything other than:
- direct text substitutions (e.g. "foo" -> "bar")
- adding non-visual tags (e.g. adding
alttags to images)
Anything else has the potential for unexpected breakage and should really be tested before deployment.
Steps for making changes
- Find the file to change
- If your changes will be on master, you can search directly in github
- If your changes will be on a branch other than master
- clone the repo to your local computer
$ git clone https://github.com/e-mission/e-mission-phone.git - switch to the branch you want to change
$ git checkout --track origin/<your_branch> - search for the text using the standard tools for your computer (e.g. using
grep, opening in an IDE and searching in the project...)
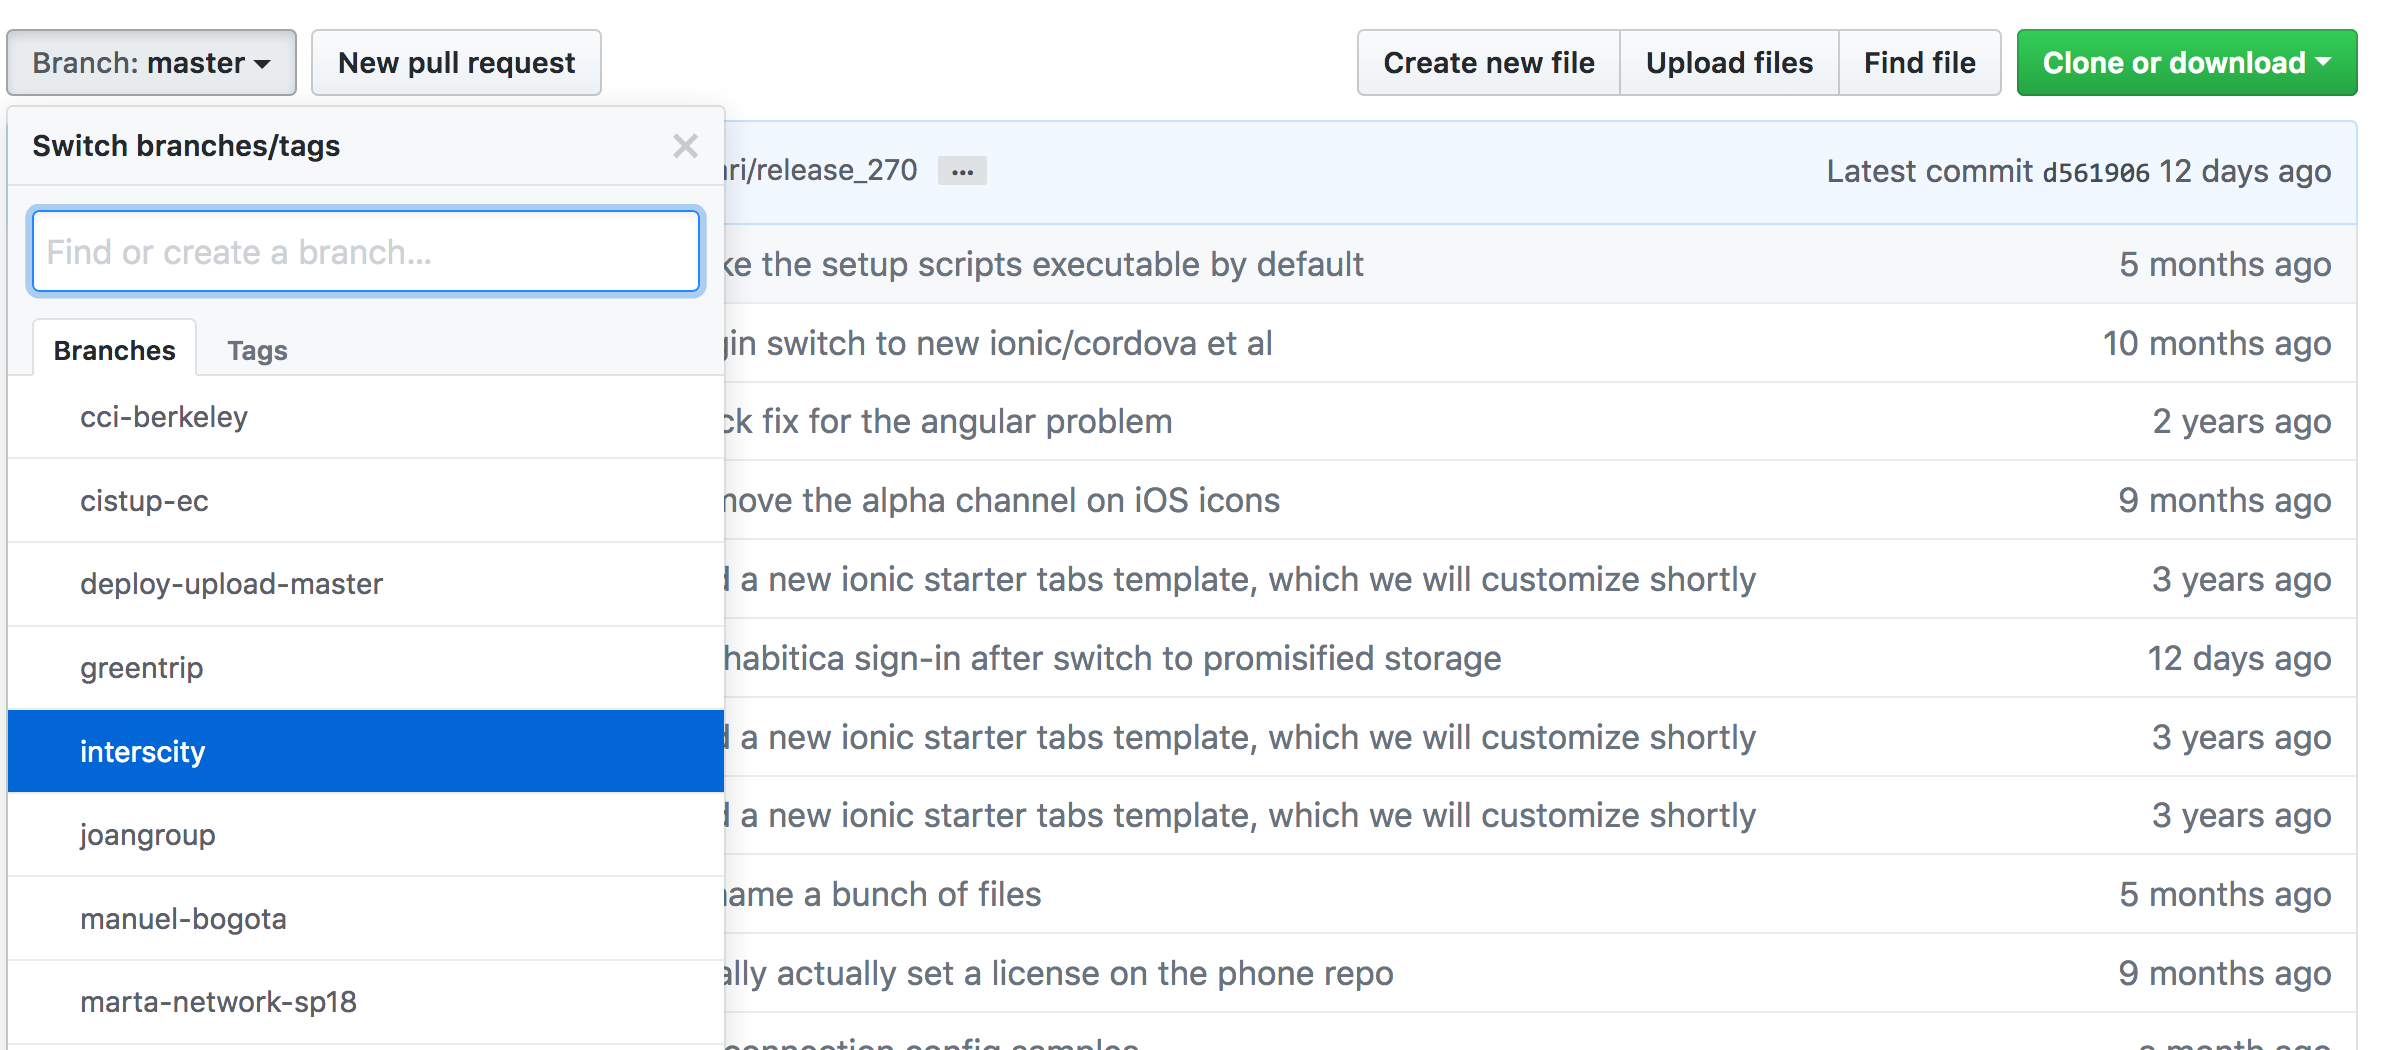
- Select your branch in the github UI
- Navigate to the file(s) you found in step 1
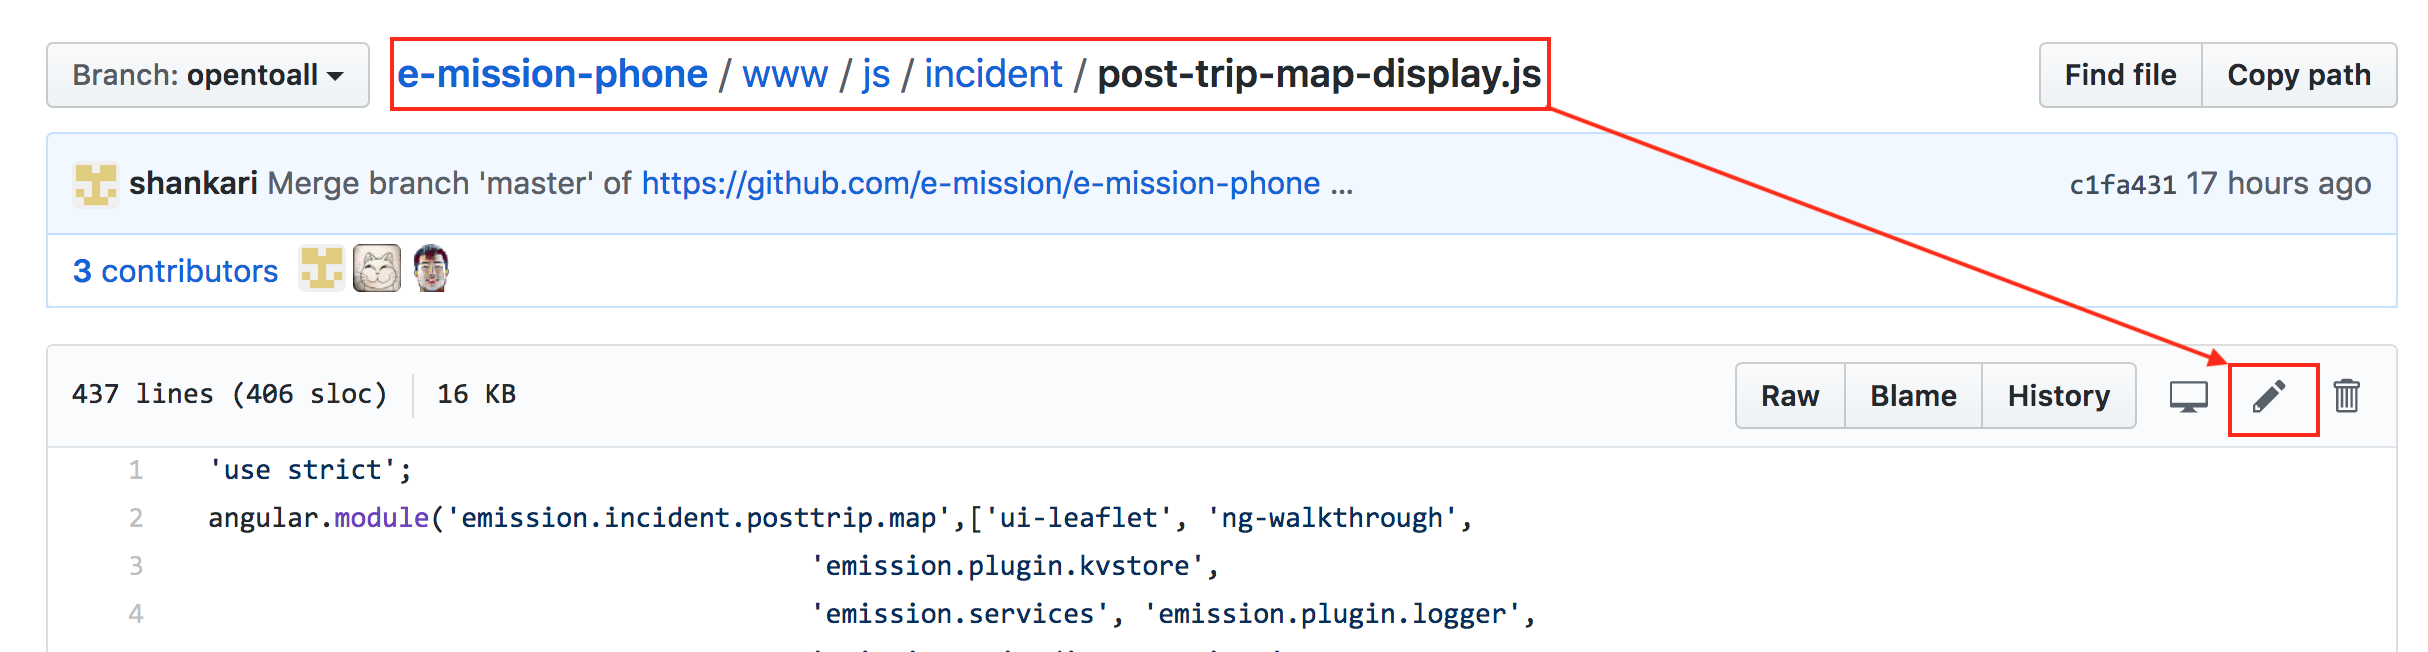
- Edit the file(s) directly and fill out the "Propose file change" message at the bottom so I know what you are doing. A message about write access is expected. "You’re editing a file in a project you don’t have write access to. Submitting a change to this file will write it to a new branch in your fork"
- Submit the pull request with the change
- See the change in your UI channel